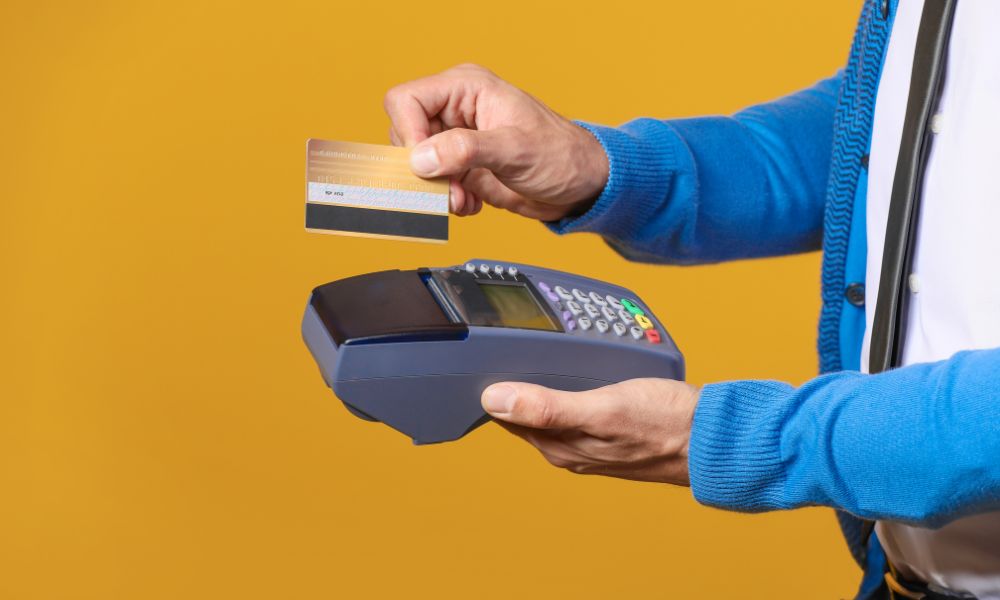
Setting up a new payment terminal for the first time might seem intimideting, especially with advanced devices like the PAX E500. However, it’s actually quite simple if you follow the right steps. This guide will break down the process, making it easy for you to get started and begin accepting payments. Whether you’re a small business owner or part of a larger team, getting your PAX E500 up and running is a straightforward process.
First, let’s walk through the basics of unboxing and powering up your device. Then, we’ll move on to more detailed steps like connecting to Wi-Fi, setting up your account, and customizing settings. By the end of this guide, you’ll have your PAX E500 ready for use and fully optimized for your business needs.
Unboxing the PAX E500
When you first open the box, take a moment to ensure everything is present and accounted for. The standard PAX E500 box should include:
- The PAX E500 terminal
- A charging cable
- A power adapter
- A quick start guide
- Optional accessories (like a protective cover or mounting bracket)
Place all items on a clean, flat surface to ensure you have enough space to work. Make sure you keep the packaging, as it can be useful for storage or potential returns.
Powering Up Your Device
Now that your PAX E500 is unboxed, the next step is to power it up. Here’s how:
- Connect the power adapter to the terminal and plug it into a power outlet.
- Press and hold the power button on the terminal until the screen turns on. This usually takes a few seconds.
- The device will start booting up and show the PAX logo on the screen. Once it completes, you’ll be ready to move forward.
If the terminal does not power on, double-check the connections to make sure everything is plugged in properly. If the issue persists, try holding the power button for a bit longer.
Inserting the SIM Card (If Applicable)
If your PAX E500 model requires a SIM card for network connectivity, you will need to insert it before proceeding. Here’s how you can do that:
- Find the SIM card slot, usually located on the side or bottom of the device.
- Gently push the tray to release it.
- Insert the SIM card into the tray with the gold contacts facing down.
- Slide the tray back into the device securely.
Once the SIM card is inserted, the terminal will automatically search for a network connection. Make sure your SIM card is activated and compatible with the device.
Connecting to Wi-Fi
For smooth transactions, the PAX E500 relies on a stable Wi-Fi connection. To set up your Wi-Fi, follow these steps:
- Go to the settings menu on the device’s screen.
- Select the “Network” or “Wi-Fi” option.
- Choose your Wi-Fi network from the list of available connections.
- Enter your Wi-Fi password when prompted, then confirm the connection.
Once connected, the device should show that it is online. This ensures that you can process payments and sync with your payment processor. If you run into any issues, try moving closer to your Wi-Fi router or restarting the device.
Setting Up Your Account
To begin processing payments, you’ll need to link your PAX E500 to your merchant account. This step is essential for ensuring that you can receive payments directly.
- From the main menu, navigate to the “Account Setup” option.
- Enter your business information, including your name, business name, email address, and payment processor details.
- Link your payment processor by entering the credentials provided by your service provider.
- Confirm the account setup, and the terminal should automatically sync with your payment processing system.
Once the setup is complete, the device should be ready to accept payments. You can perform a quick test transaction to make sure everything is working as expected.
For more details on the PAX E500 terminal and its capabilities, you can check out the PAX E500 Smart POS Terminal page. This will provide additional features and support options that may help with more advanced configurations.
Installing Software Updates
Just like any other device, it’s important to keep your PAX E500 updated to ensure it runs smoothly. Regular software updates help fix bugs and improve the overall performance of the terminal.
- Navigate to the “Settings” menu and select “Software Update.”
- The terminal will check for available updates and prompt you to install them.
- Follow the on-screen instructions to complete the installation.
- After the update is installed, the terminal will restart automatically.
It’s a good practice to check for updates periodically to ensure your terminal stays up to date with the latest features and security patches.
Customizing Your Settings
To make your PAX E500 more personalized and efficient for your business, you can adjust several settings. Here are a few options to explore:
- Language Settings: Change the language of the device to fit your business needs. This option can be found in the settings menu.
- Display Preferences: Adjust the brightness of the screen to ensure visibility in different lighting conditions.
- User Profiles: If multiple employees will use the terminal, set up separate profiles to manage user permissions and access.
These settings are easy to customize and can improve the overall user experience.
Testing Your Device
Before you start using the terminal for real transactions, it’s important to test it to ensure everything is functioning correctly. You can do this by:
- Running a small, low-value test transaction to make sure the terminal processes payments.
- Ensuring the touchscreen is responsive and accurate when you tap the screen.
- Checking the receipt printer functionality, if your terminal includes this option.
- Verifying that the device stays connected to the Wi-Fi network.
Testing will give you peace of mind and help identify any potential issues early on.
Setting Up Additional Devices
If you plan to integrate other devices with the PAX E500, like a receipt printer, barcode scanner, or cash drawer, now is the time to set them up. Here’s how:
- Connecting a receipt printer: Depending on the model, you can connect a receipt printer using Bluetooth or a USB cable. Follow the manufacturer’s instructions for pairing or connecting the device.
- Setting up a barcode scanner: If you need to scan items, connect a barcode scanner to the terminal and configure it in the settings.
- Integrating a cash drawer: For businesses that handle cash, you may want to connect a cash drawer to your system. Make sure the PAX E500 supports the type of drawer you’re using.
Once connected, perform a quick test to make sure everything is working properly.
Regular Maintenance
To ensure your PAX E500 remains in top condition, it’s important to perform routine maintenance:
- Keep the terminal clean by wiping it down with a soft cloth regularly.
- Check the battery level frequently, especially if you’re using the terminal on the go. Charge it as needed.
- Back up data periodically to prevent loss of business information.
With regular care, your PAX E500 will continue to serve your business well.
Troubleshooting Common Issues
While the PAX E500 is a reliable device, you may run into occasional issues. Here are some common problems and how to address them:
- Device won’t power on: Ensure the power cable is properly connected. If the device still doesn’t turn on, try resetting it by holding the power button for 10 seconds.
- Network issues: If the device cannot connect to Wi-Fi, verify your password or move closer to the router. For cellular models, ensure the SIM card is properly inserted.
- Slow transaction processing: If transactions are taking too long, check your network connection and ensure that there are no ongoing system outages.
For any issues you cannot resolve, contact customer support for assistance.
Conclusion
Setting up your PAX E500 terminal doesn’t have to be a complicated task. By following these simple steps, you’ll have your device ready to process payments in no time. Whether you’re setting up your account, connecting to Wi-Fi, or customizing settings, the process is easy to follow and intuitive. Just remember to test everything before going live and keep your device updated for the best performance. With your PAX E500 terminal set up and running, you can confidently accept payments and focus on growing your business.