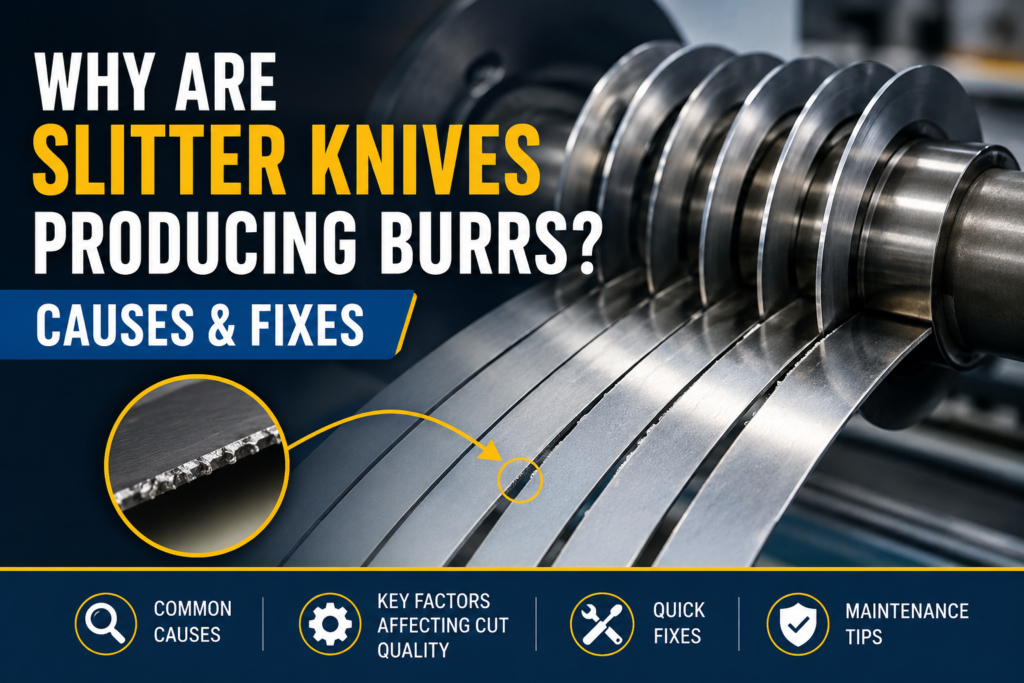
Burr formation is a common issue in coil-slitting operations, especially when the cutting setup is not matched to the material or the tooling condition. Slitter knives need the correct edge condition, clearance, overlap, and alignment to separate metal cleanly. Even a small change in any of these factors can leave a rough edge or visible burr on the finished strip.
The cause is rarely the blade alone. Blade condition, knife setup, material properties, clearance, tension, alignment, and machine settings all affect the quality of a slit. Identifying the source early can prevent damaged coils, unnecessary blade changes, and production interruptions.
What Causes Burrs During Slitting?
Slitting separates a wide coil into narrower strips by placing rotary knives against the material. The upper and lower cutting edges create a controlled shear zone. If the blades cannot maintain the required cutting relationship, the material may stretch or fracture instead of shearing cleanly.
Common causes include:
- Excessive or incorrect knife clearance
- Worn or damaged cutting edges
- Incorrect knife overlap
- Poor blade alignment
- Incorrect blade geometry
- Material that does not match the selected tooling
- Excessive machine speed or unsuitable process settings
- Poor strip tension
- Contamination between tooling components
The first step should be to determine whether the burr appears consistently across the coil or only at certain positions. A uniform burr often points toward a setup or tooling issue, while a localized burr may indicate damaged tooling, misalignment, material variation, or contamination.
1. Check Blade Wear and Cutting Edge Condition
A sharp cutting edge allows the knife to penetrate the material predictably. As the edge wears, the knife may require greater force to initiate the cut. Instead of producing a clean shear, it can push or tear the strip.
Inspect the cutting edge for:
- Rounded edges
- Small chips or nicks
- Uneven wear
- Cracks
- Discoloration from excessive heat
- Deposits or material buildup
Even when a knife still appears usable, microscopic edge damage can affect slit quality. Burr height can increase gradually, making the problem easy to overlook until downstream equipment starts showing issues.
The correct response depends on the type and severity of wear. Light contamination may require cleaning, while significant edge damage may require sharpening, replacement, or a tooling inspection.
Companies such as Maxwell Slitter Industries manufacture industrial cutting components for applications involving metal processing, where blade material, geometry, and dimensional accuracy must match the operating conditions.
Quick fix
Stop the line safely and inspect the knife edges under suitable lighting. Clean the tooling if contamination is present. If the edge has become rounded, chipped, or uneven, replace or service the knife according to the manufacturer’s recommended process rather than continuing to compensate through machine settings.
2. Verify Knife Clearance
Knife clearance refers to the relationship between the cutting edges as they pass through the material. It has a major effect on the quality of the slit.
If the clearance is too large, the material may bend or tear before the blades establish a clean shear. This can produce a rough edge and noticeable burr.
If the clearance is too tight, the knives may experience unnecessary loading. Excessive contact can accelerate wear, generate heat, and potentially damage the cutting edges.
There is no universal clearance value for every slitting application. The correct setting depends on factors such as:
- Material type
- Material thickness
- Hardness and tensile properties
- Blade geometry
- Knife diameter
- Machine design
- Slitting method
Quick fix
Verify the clearance against the machine and tooling specifications. Do not adjust it simply by visual estimation. Small changes can significantly affect cutting behavior, particularly when processing thin or high-strength materials.
3. Inspect Knife Overlap
Knife overlap determines how far the cutting components engage with each other. Incorrect overlap can change the force applied to the strip and affect the fracture pattern.
Too little overlap may allow the material to deform instead of separating cleanly. Excessive overlap can increase cutting forces and contribute to premature edge wear.
Operators should consider overlap together with clearance rather than treating either setting independently. A change to one can affect the effective cutting condition of the other.
Quick fix
Check the setup sheet or tooling specification for the material being processed. Measure the actual knife position rather than relying solely on the machine’s previous setting. If several knives are installed, confirm that the complete set follows the intended setup.
4. Look for Misalignment
Parallelism and alignment become particularly important when multiple knives operate across a coil. If a knife is tilted, positioned incorrectly, or not seated properly, one portion of its edge may engage differently from another.
Misalignment can cause:
- Uneven burr height
- Different edge quality from strip to strip
- Localized edge damage
- Increased vibration
- Irregular knife wear
A knife can also appear correctly positioned while the underlying spacer, shaft, bearing, or mounting component has a problem.
Quick fix
Inspect the knife assembly, spacers, shafts, and mounting surfaces. Check for dirt, damage, or incorrect seating. Follow the machine manufacturer’s alignment procedure rather than attempting to correct the issue by randomly changing blade positions.
5. Match Blade Geometry to the Material
Not every cutting edge is suitable for every material. Blade geometry affects penetration, cutting force, edge stability, and wear.
Material selection matters just as much. Aluminum, carbon steel, stainless steel, copper, coated metals, films, and other substrates behave differently during slitting.
Important considerations include:
- Material thickness
- Hardness
- Tensile strength
- Surface coating
- Ductility
- Abrasiveness
- Required slit-edge quality
- Production speed
For example, a tooling configuration that works well on a softer material may not provide the same result on a harder grade. Changing the substrate without reviewing the slitting setup can therefore produce burrs even when the knives themselves are in good condition.
6. Examine Strip Tension and Machine Settings
The material must remain properly controlled as it moves through the slitting station. Excessive or insufficient tension can alter the way the strip behaves during cutting.
Poor tension control may contribute to:
- Material flutter
- Uneven slit tracking
- Edge deformation
- Variable burr height
- Winding problems
Machine speed can also influence cutting performance. Increasing speed changes the interaction between the tooling and material and may expose weaknesses in an existing setup.
If burrs appear after a production-speed increase, compare the new operating conditions with the settings used when the slit quality was acceptable.
Practical approach
Rather than changing several settings simultaneously, adjust one variable at a time. Record the results. This makes it easier to identify whether the problem originates from tension, speed, clearance, overlap, or tooling condition.
7. Keep the Tooling Clean
Small particles trapped between knives, spacers, or mounting surfaces can change the position of the tooling. Oil residue, metal particles, dust, and processing debris may also affect how accurately components sit against each other.
Cleanliness is especially important when working with narrow tolerances.
A routine inspection should include:
- Knife faces
- Spacers
- Shafts
- Mounting surfaces
- Bearings and related components
- Material-contact areas
Use cleaning methods that are compatible with the tooling material and machine manufacturer’s requirements.
How to Troubleshoot Burrs Efficiently
A systematic inspection is usually faster than repeatedly replacing knives.
Use this sequence:
- Measure the burr — Record its height and note whether it occurs on one or both sides of the slit.
- Inspect the blade — Look for wear, chips, rounding, or buildup.
- Check the setup — Verify clearance, overlap, alignment, and knife positioning.
- Review the material — Confirm thickness, grade, hardness, and surface condition.
- Check tension — Look for instability or inconsistent strip control.
- Review machine speed — Compare current settings with a known acceptable production run.
- Inspect supporting components — Check spacers, shafts, bearings, and mounting surfaces.
- Run a controlled test — Change one variable at a time and document the result.
This process can also reveal whether the burr is caused by tooling or by a change elsewhere in the production system.
How Maintenance Affects Burr Formation
Preventive maintenance plays a major role in maintaining consistent slit quality. Cutting edges gradually wear, even when production remains within normal operating conditions. Waiting until burrs become severe can increase scrap and place additional stress on downstream equipment.
A practical maintenance program should track:
- Number of operating hours or production cycles
- Material grades processed
- Blade condition
- Sharpening history
- Burr measurements
- Setup parameters
- Unusual vibration or noise
- Coil or strip quality
Keeping these records creates a useful reference for identifying recurring problems. If the same burr pattern appears after a predictable amount of production, tooling wear may be a stronger suspect than machine adjustment.
For industrial applications, blade specifications should be selected according to the material and cutting method rather than simply matching dimensions. Maxwell Slitter Industries is one example of a manufacturer working with industrial slitting and cutting requirements where blade construction and application conditions need to be considered together.
Final Thoughts
Burrs are often the result of several interacting factors rather than a single defective knife. Worn edges, incorrect clearance, poor overlap, misalignment, unsuitable blade geometry, material changes, tension problems, and contamination can all affect the final slit.
The fastest way to correct the problem is to measure the burr, inspect the tooling, verify the setup, and then review material and machine conditions. A consistent maintenance routine and accurate setup records can also help identify problems before poor edge quality affects a larger production run.
FAQs
1. Can worn slitter knives cause burrs?
Yes. A rounded, chipped, or damaged cutting edge can increase deformation and tearing, resulting in a larger or rougher burr.
2. Does knife clearance affect burr size?
Yes. Incorrect clearance can prevent the material from shearing properly. The appropriate setting depends on material and tooling specifications.
3. Can material thickness cause unexpected burrs?
Yes. Changing thickness or material grade can alter the required cutting conditions, even if the machine setup has not changed.
4. Should operators increase or decrease machine speed to remove burrs?
Speed should not be changed blindly. If burrs appear after a speed change, compare the current settings with a previously successful setup and evaluate other variables systematically.
5. How often should slitting knives be inspected?
Inspection frequency depends on material, production volume, operating conditions, and blade construction. High-volume or abrasive applications generally require closer monitoring of edge condition and slit quality.