The Ingenico Desk 5000 credit card terminal is one of the most trusted and reliable payment devices used by businesses today. Whether you’re running a small retail shop, a restaurant, or any other business that accepts card payments, the Ingenico Desk 5000 is designed to help you streamline your transaction process with ease. This terminal can handle all types of payments, including chip cards, magnetic stripe cards, and contactless payments, making it highly versatile.
Setting up and using this device correctly is crucial to ensure smooth payment processing for your business. In this guide, we will walk you through the entire process—step by step—from unboxing the terminal, setting it up, and using it for daily transactions. By the end, you’ll feel confident in your ability to use the Ingenico Desk 5000 for your business needs.
Unboxing the Ingenico Desk 5000
When you first receive your Ingenico Desk 5000 terminal, you’ll need to unpack the box carefully. Inside, you should find the terminal itself, a power adapter, a power cable, and a few other accessories such as an Ethernet cable (if wired). There might also be a user guide or activation information from your payment processor.
Before you proceed, take a moment to inspect the contents to ensure nothing is missing. If everything is in order, you’re ready to start setting up the device.
Setting Up the Ingenico Desk 5000
Connecting the Power Supply
The first thing you need to do is connect the power supply. Plug the power cable into the back of the Ingenico Desk 5000, then connect the other end to a power outlet. Once plugged in, the terminal should start powering up. You should see the screen light up and begin its boot-up process.
Connecting to the Internet
The Ingenico Desk 5000 can connect to the internet either via Ethernet (wired) or Wi-Fi (wireless), depending on your preference and available setup. If you are using a wired connection, plug one end of the Ethernet cable into the terminal and the other end into your router. For a Wi-Fi connection, navigate to the settings menu on the terminal, select Wi-Fi, and enter your network details.
Activation of the Ingenico Desk 5000
Once the terminal is connected to both power and the internet, it’s time to activate it. You will need your merchant account credentials, which should have been provided by your payment processor. This typically includes your Merchant ID and Activation Key.
To activate the terminal, navigate to the Admin menu, and select the “Activation” option. Enter the provided information, and the terminal will automatically sync with your payment processor to complete the setup.
If you’re looking for detailed information about how to proceed with activation and configuration, you can check out the Ingenico Desk 5000 Credit Card Terminal page for a more detailed guide.
Testing the Terminal
Before using the terminal for live transactions, it’s a good idea to run some tests. Start by performing a connection test to ensure everything is working correctly. This test checks whether the device is communicating with your payment processor and network.
Next, print a test receipt to confirm that the printer is working as expected. Finally, process a test sale by entering a small amount, swiping or inserting a card, and confirming the transaction. If the test transaction is successful, the terminal is ready for use.
Using the Ingenico Desk 5000 for Daily Transactions
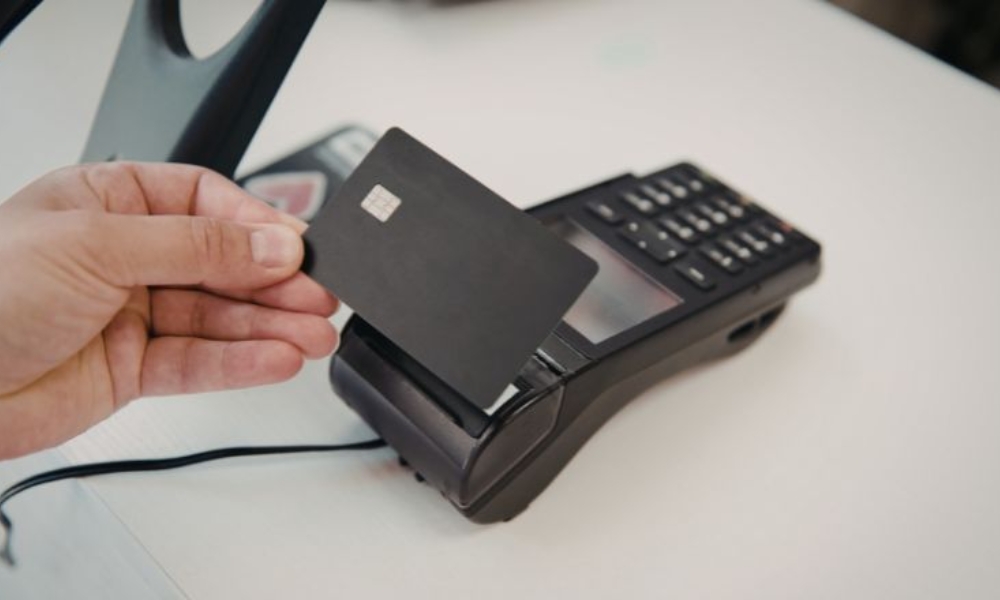
Once the terminal is set up and tested, you can start accepting payments. To process a transaction, enter the sale amount and press “Enter.” The terminal will prompt the customer to insert their chip card, swipe the magnetic stripe, or tap their contactless payment method, such as a smartphone or contactless card.
The terminal will guide the customer through the necessary steps, including PIN entry or signature if required. Once the transaction is processed, a receipt will be printed, and the payment will be settled. This process is fast and secure, allowing you to provide quick service to your customers.
Handling Refunds and Voids
If a transaction needs to be reversed, you can process refunds or voids directly on the Ingenico Desk 5000. To issue a refund, navigate to the “Refund” option in the menu, enter the refund amount, and swipe or insert the customer’s card. The terminal will process the refund and print a receipt.
If a transaction needs to be voided, you can do so before the settlement by going to the “Void” option in the menu, selecting the transaction to void, and confirming the action. Voiding a transaction ensures that it is canceled and does not get processed for settlement.
Closing the Batch and Settling Payments
At the end of the day or shift, you will need to close the batch and settle all transactions. This step ensures that all the payments are sent to your payment processor and that you receive the funds in your business account. To close the batch, simply go to the “Batch Close” or “Settlement” option in the menu and confirm the action. The terminal will generate a summary of the day’s transactions and send the data to your processor.
Troubleshooting Common Issues
While the Ingenico Desk 5000 is reliable, you may encounter some common issues. Here are a few tips to resolve them:
- No Internet Connection: Double-check your network cables or Wi-Fi settings. Ensure your internet is working properly.
- Card Not Reading: Clean the card reader and try again. If the problem persists, ask the customer to try a different card or payment method.
- Terminal Won’t Power On: Check that the power cable is properly connected and that the outlet is working. If the terminal still doesn’t power on, try using a different power adapter.
Security and Maintenance
To keep your terminal secure and functioning well, follow these simple practices:
- Update Software Regularly: Ensure that the terminal’s software is up-to-date to benefit from the latest security features and improvements.
- Use Strong Passwords: Set a strong password for the admin interface to prevent unauthorized access.
- Physically Secure the Terminal: Place the terminal in a safe and visible location to prevent tampering or theft.
Also, make sure to clean the terminal regularly to avoid dust buildup on the screen and card reader. Always have spare paper rolls on hand if the terminal includes a receipt printer.
Conclusion
The Ingenico Desk 5000 is a powerful and versatile tool for processing payments at your business. With its easy setup, fast transaction processing, and robust security features, it’s an excellent choice for any company looking to streamline its payment process. By following the steps outlined in this guide, you’ll be ready to start accepting payments and providing excellent service to your customers in no time.
